If you are looking for the ultimate adventure, the Ausangate Trek is by far one of the best treks in Peru!
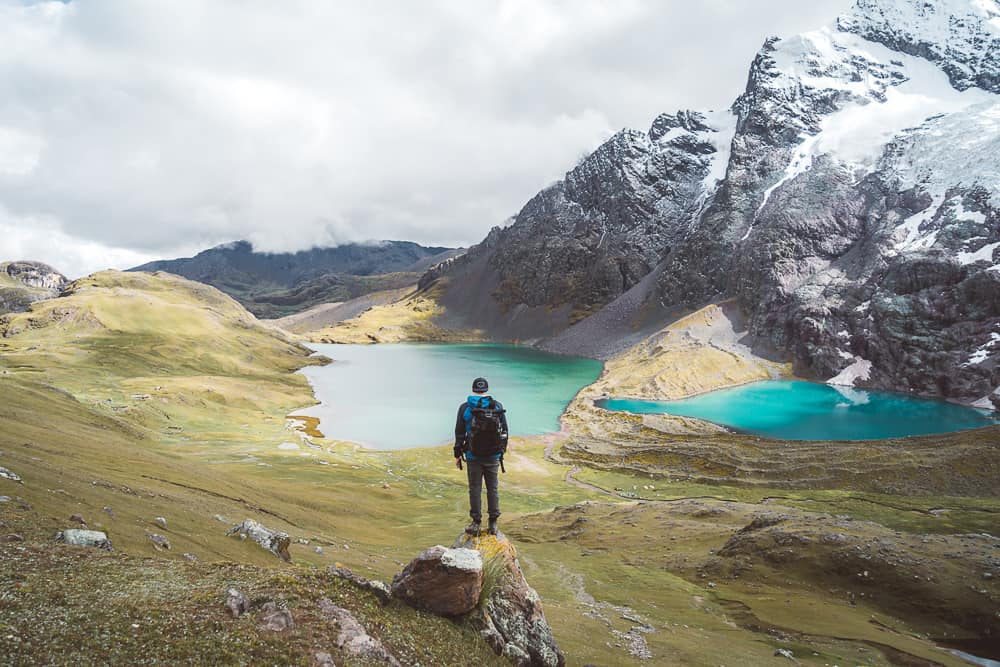
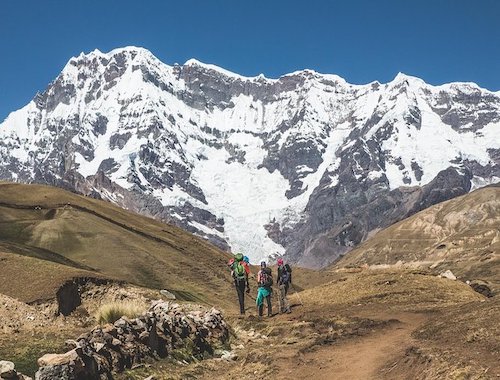
Reaching altitudes of 5400m, the Ausangate trail offers an ‘off the beaten track’ experience boasting turquoise glacier lakes, snow-capped peaks, rainbow mountains, hot springs, and much more!
I personally embarked on a 7-day Ausangate Trek Peru and have put together this complete guide with everything you need to know before you go.
QUICK ANSWERS: AUSANGATE TREK PERU
Before I go into more details about the Ausangate Peru Trek, here are some quick answers to first-time visitors’ most frequently asked questions.
AUSANGATE STATS – ALTITUDE, DISTANCE, DIFFICULTY
Before you trek Ausangate, see this list of essential things to know before you go;
- Altitude – 3,700m to 5,400m
- Terrain – glacial, rocky trails and high passes
- Acclimatization – 2 to 3 days in Cusco is recommended before Ausangate trekking
- Distance – 5-day trek/7-day trek (67km) & 9-day trek (100km)
- Difficulty – strenuous, lengthy, and high altitude
- Weather – rain, wind, snow, hail, and sunshine (best time to go is from March to November)
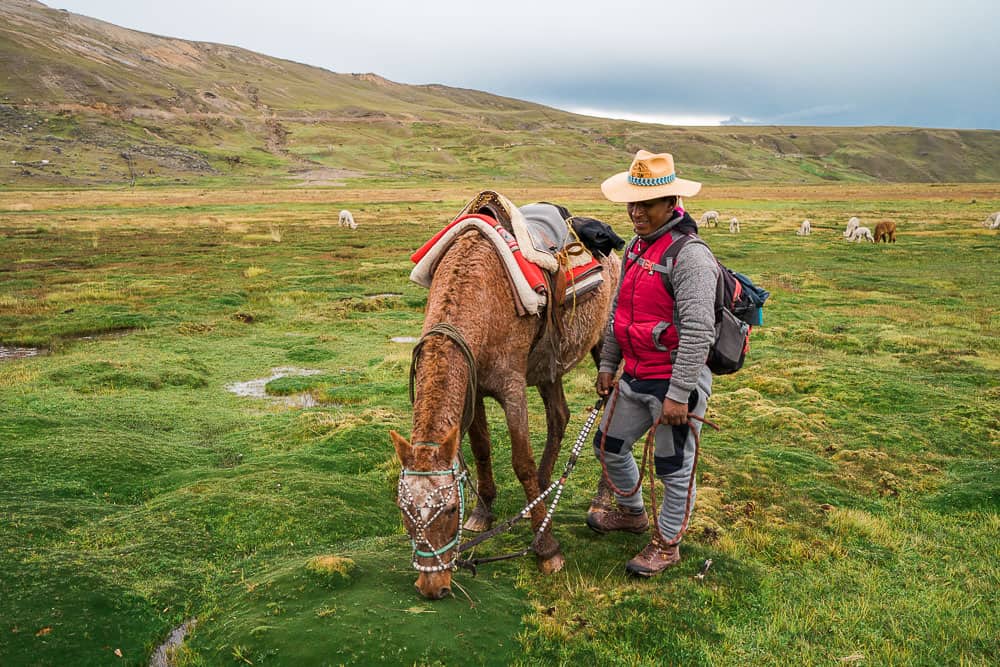
- Food – all food and drinks are included during the trek, along with porters and chefs
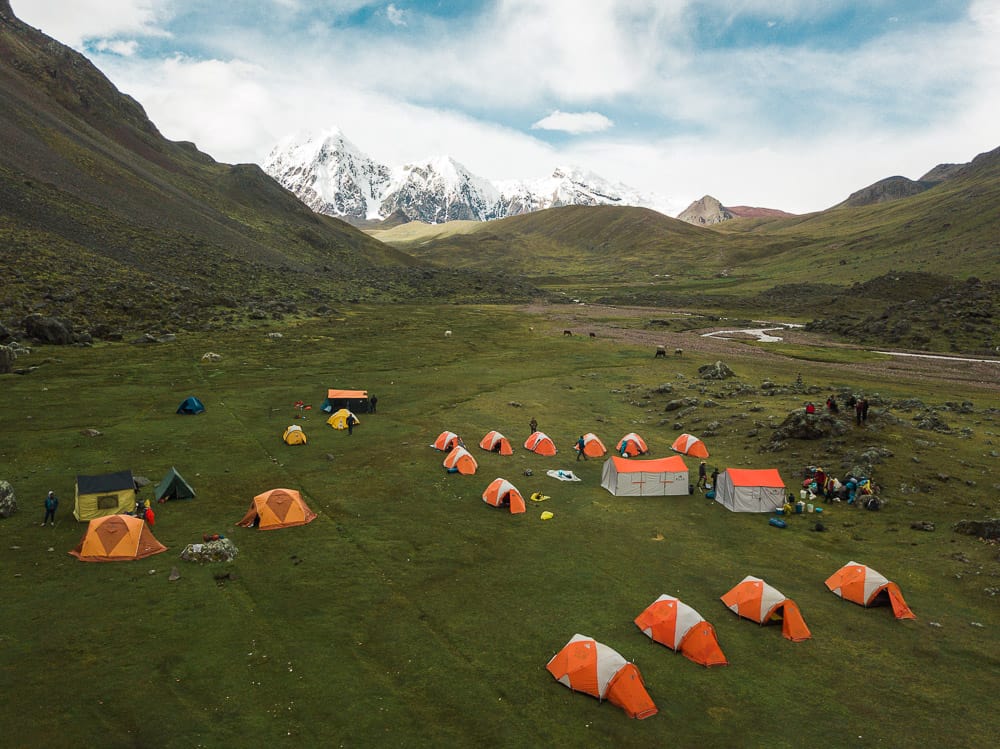
- Accommodation – tents, mattresses, pillows, and sleeping bags are provided upon request
BEST AUSANGATE TREK TOUR
The best way to visit is to join an Ausangate Tour!
It includes transportation from Cusco, meals, camping gear, a fun group, and a knowledgeable guide!
WHERE IS AUSANGATE MOUNTAIN?
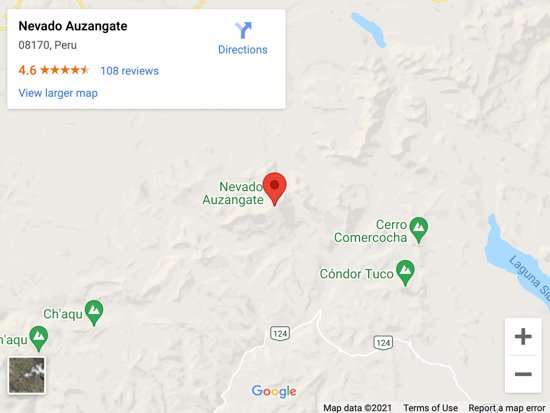
Ausangate Mountain is located in the Vilcanota Mountain Range in Peru.
From Cusco, it’s approximately a four-hour drive to reach a small village called Tinki, which is the starting and finishing point for most Ausangate Treks.
Click here to see the location on Google maps.
BEST TIME TO DO THE AUSANGATE TREK?
The best time to go is between March and November which is the dry season in the Andes and calls for clearer days and beautiful scenery.
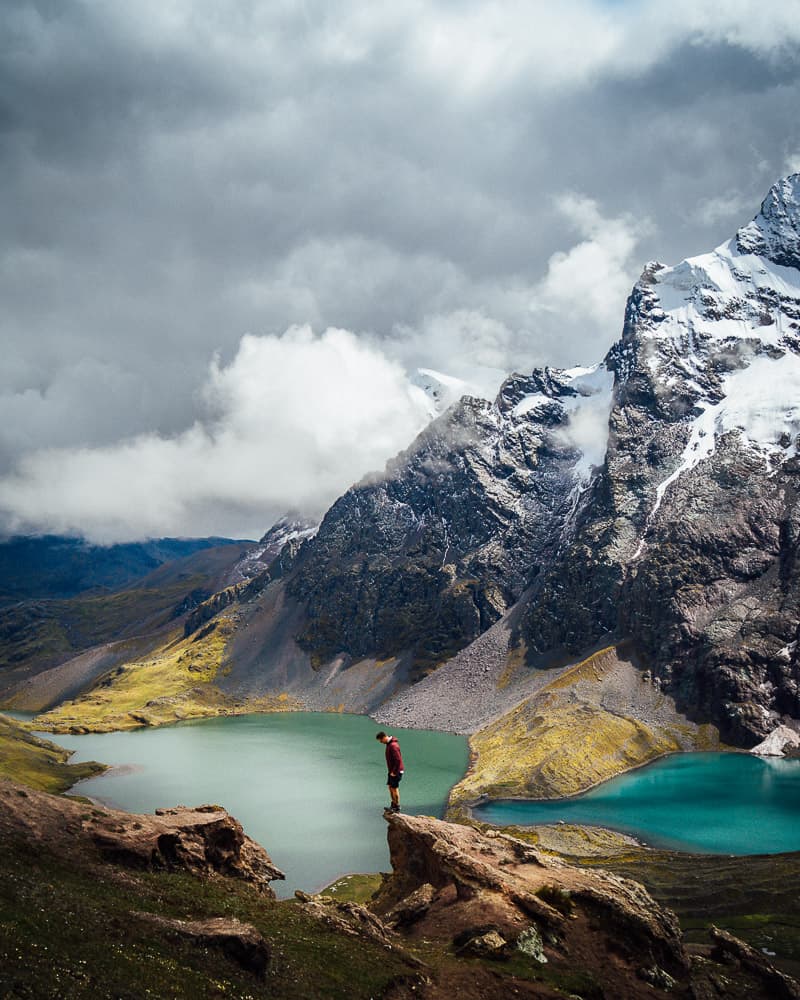
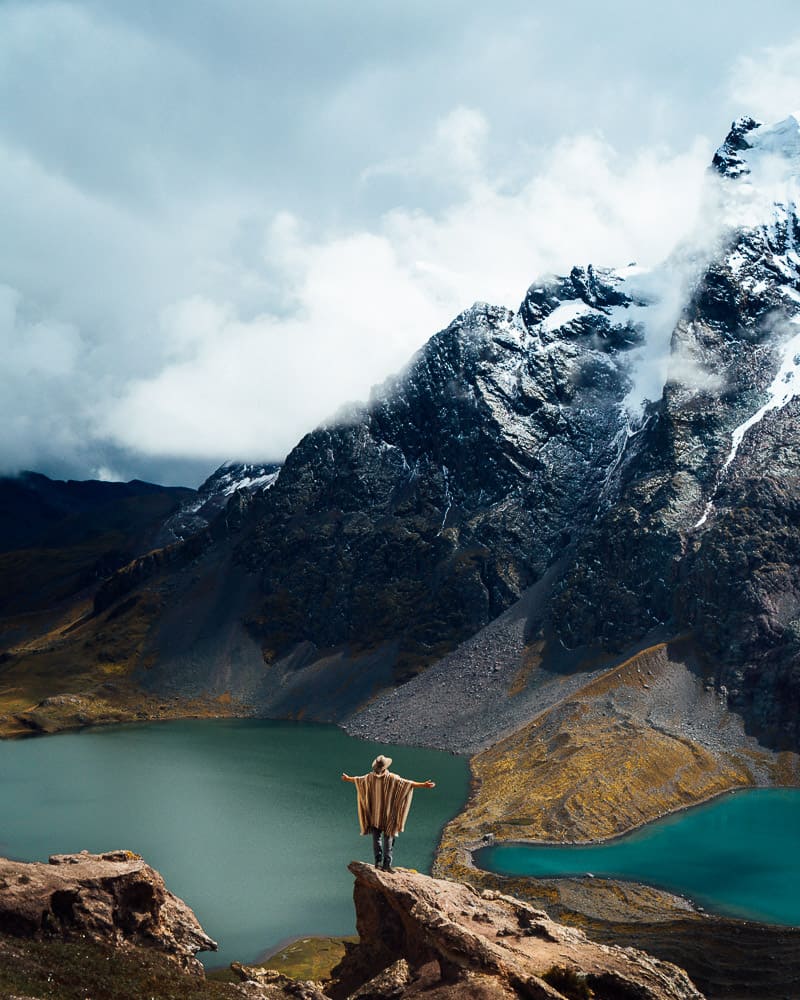
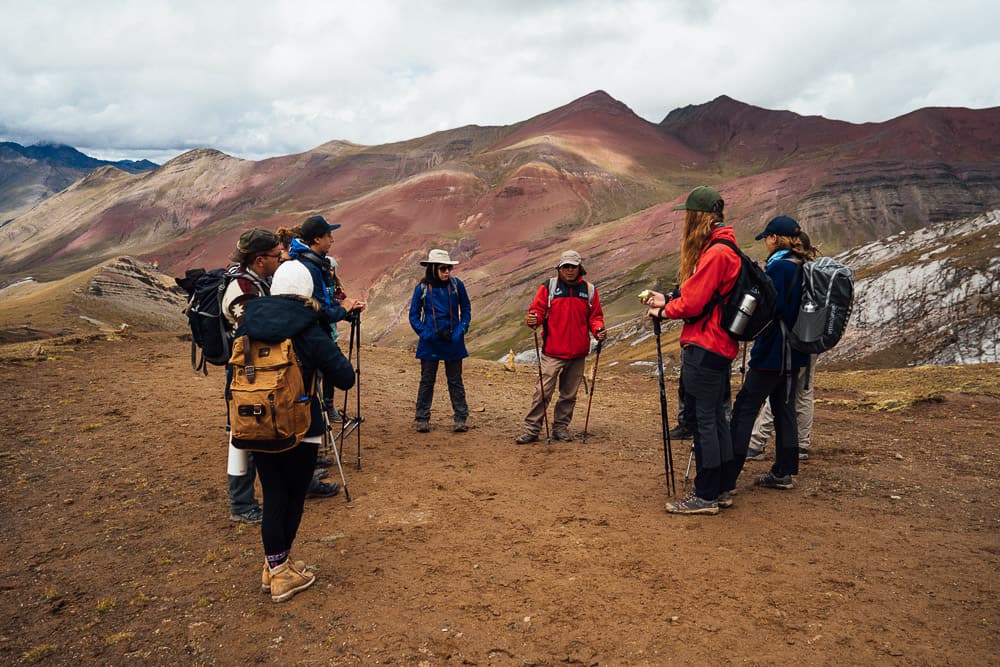
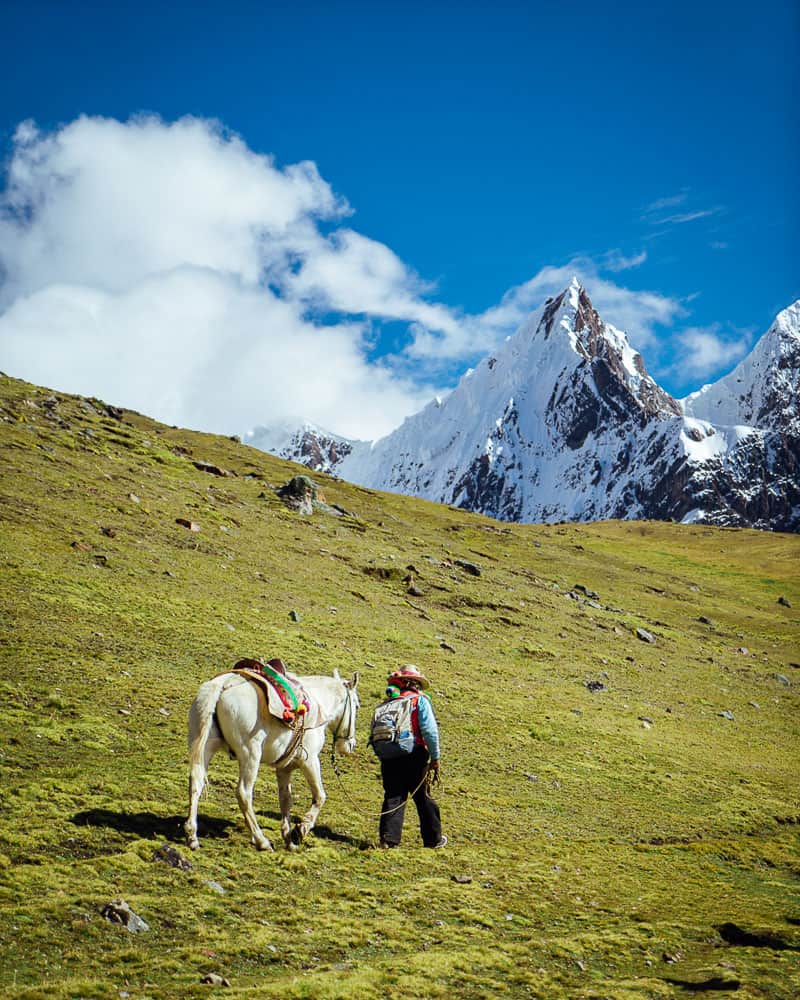
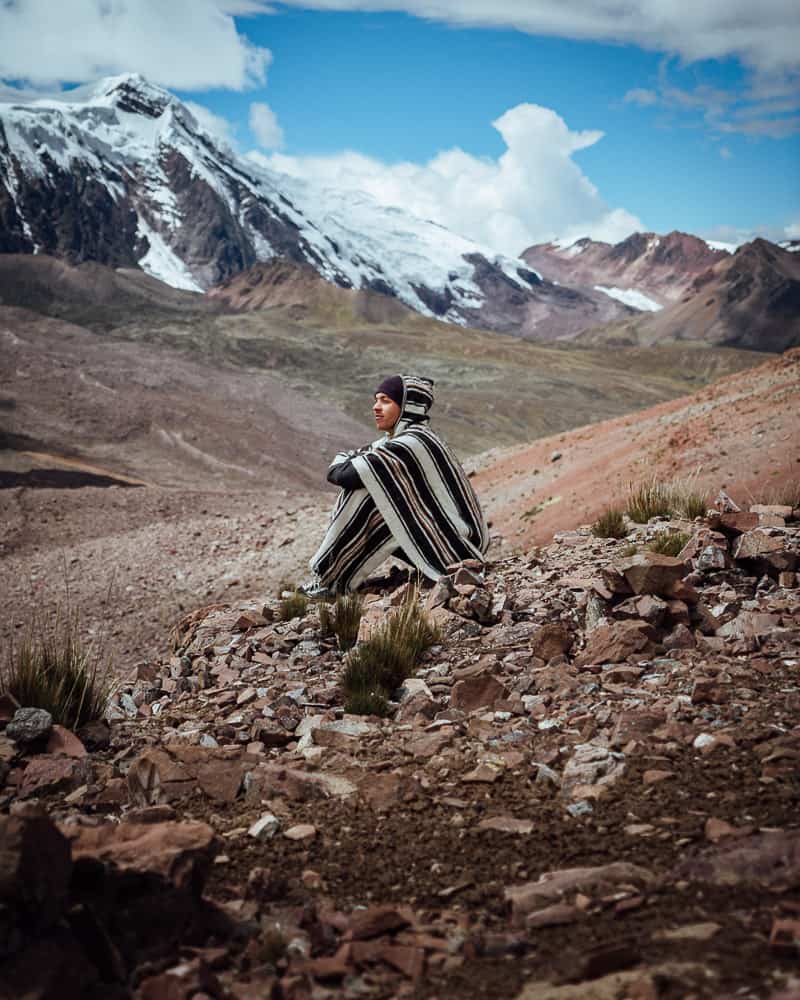
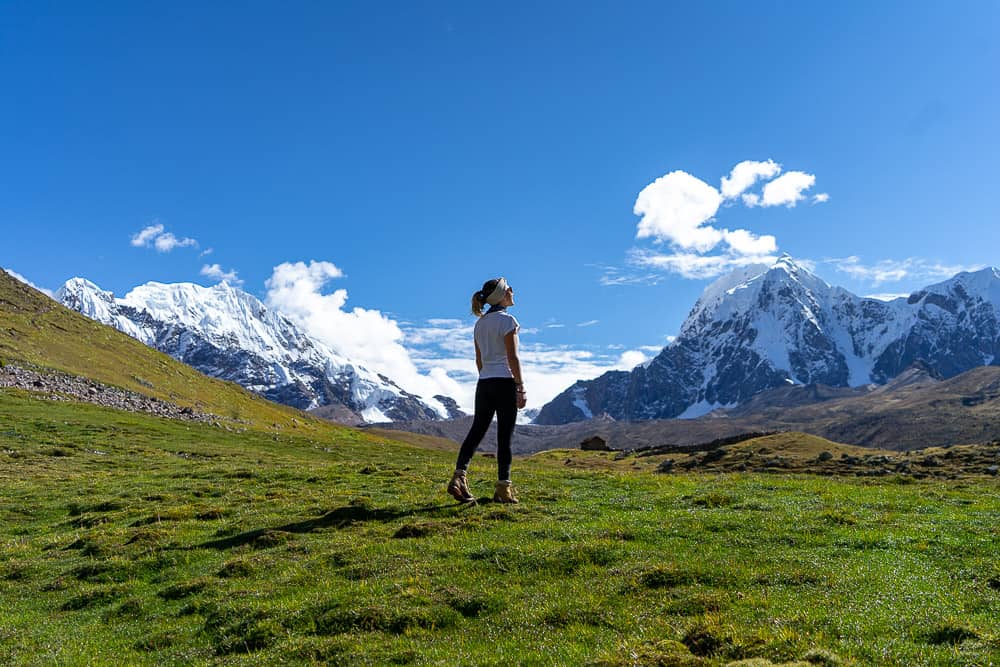
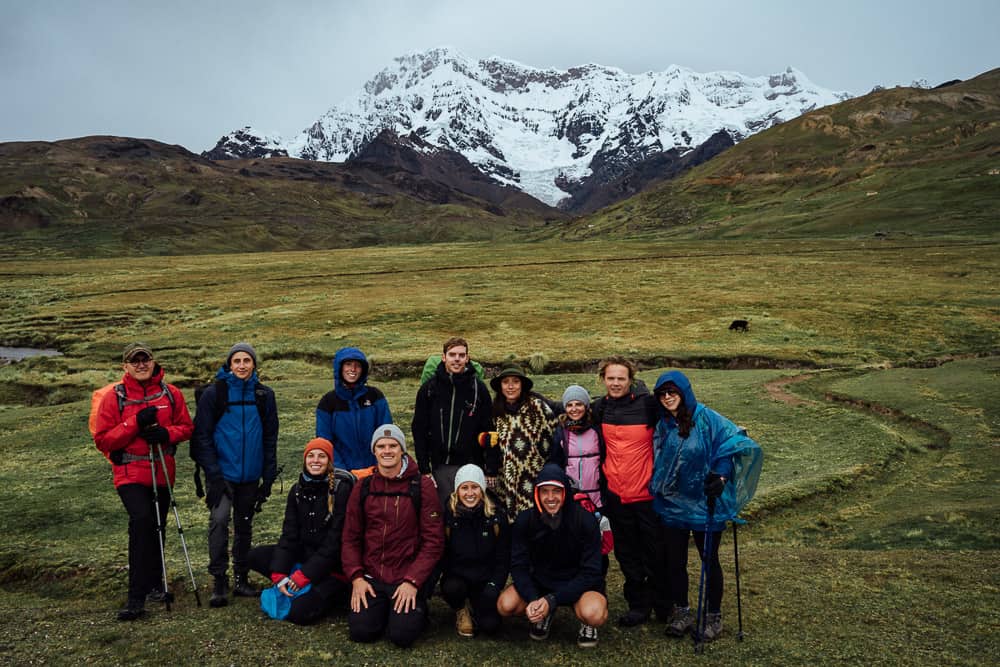
That being said, the weather here is unpredictable so expect a mix of cloudy and sunny days, as well as cold temperatures, as you’ll see in the photos in this guide.
HOW MANY DAYS FOR THE AUSANGATE PERU TREK?
To make the most of your experience, I recommend taking 7 days and 6 nights to complete the trek.
This will give you enough time to acclimate to the elevation, take in the scenery, and fully immerse yourself in the culture and customs of the local communities.
CAN I BOOK AN AUSANGATE TOUR?
There are many tour operators in Cusco that offer tours and treks to Ausangate, however, it can be overwhelming to decide which one to book.
I personally booked my trek with Killa Expeditions, the most reputable and experienced tour operator in Cusco, and I can’t recommend them enough!
They go above and beyond to make sure their guests are comfortable, happy, and most importantly safe on all their trips.
Click here to see all Ausangate tours and treks on the Killa Expeditions website.
If you decide to book the Ausangate trekking tour with Killa, be sure to let me know because readers of my blog are eligible for a $100 discount. Get in touch with me via email to claim.
MY EXPERIENCE ON THE AUSANGATE TREK PERU
Read on to learn more about the Ausangate trek itinerary and my own experience on the tour.
DAY 1
Day one of the trek began with a 6 am hotel pick-up from Cusco for an approximately four-hour drive to a small village called Tinki, the starting point of the trek.
About halfway to Tinki, we stopped at a viewpoint that overlooks a vast valley in the region and we were each given a boxed breakfast to fuel our bodies.
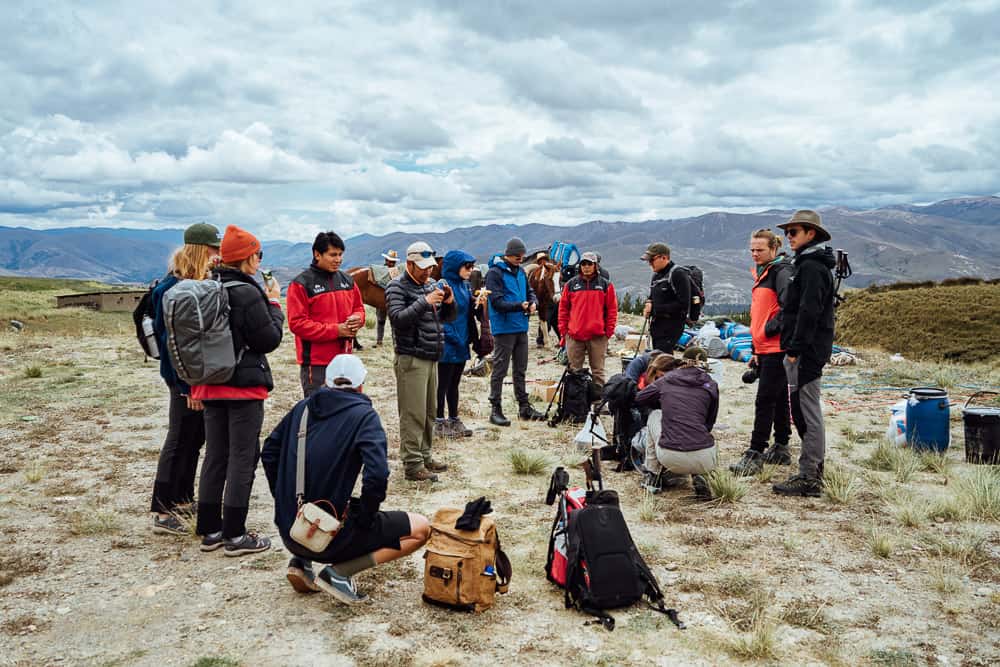
We arrived in Tinki and unloaded the bus with our bags, Ausangate trekking gear, tents, and supplies to hand over to the porters who then mounted all the gear onto the horses.
It was all about to begin and I was honestly a little nervous as I had never before done a trek that lasted longer than three days nor at high altitude.
Furthermore, our guides pumped us up with a motivational speech and before you knew it, we were off along the trailhead towards Ausangate Mountain.
The first part of the Ausangate circuit trail eases in along a path that gently ascends as it leads away from civilization and into the mountains. We came around a bend to see the lunch tents already set up by the porters and chefs!
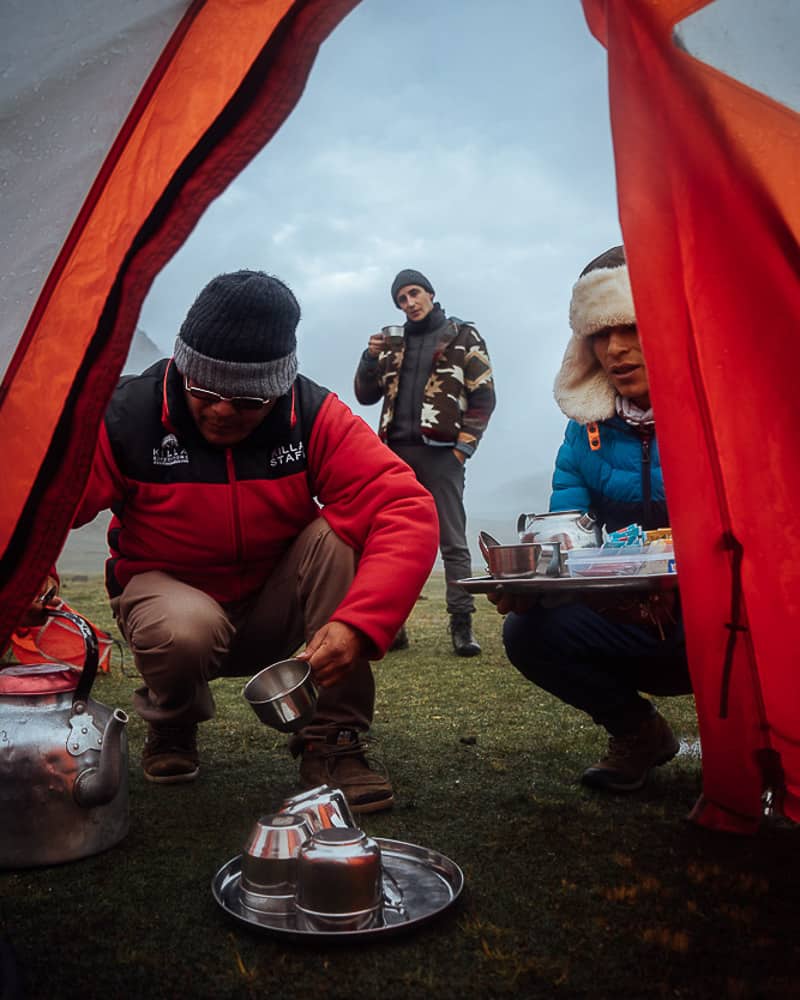
They had prepared a 3-course meal with some hot tea, ready for us to indulge. In saying that, every meal on the 7-day trek consisted of 3-courses including tea, coffee, juices, fruit, snacks, and fresh drinking water!
It was luxurious, to say the least, and I was very impressed by the efforts that the Killa Expeditions staff went to in order to make us all feel satisfied.
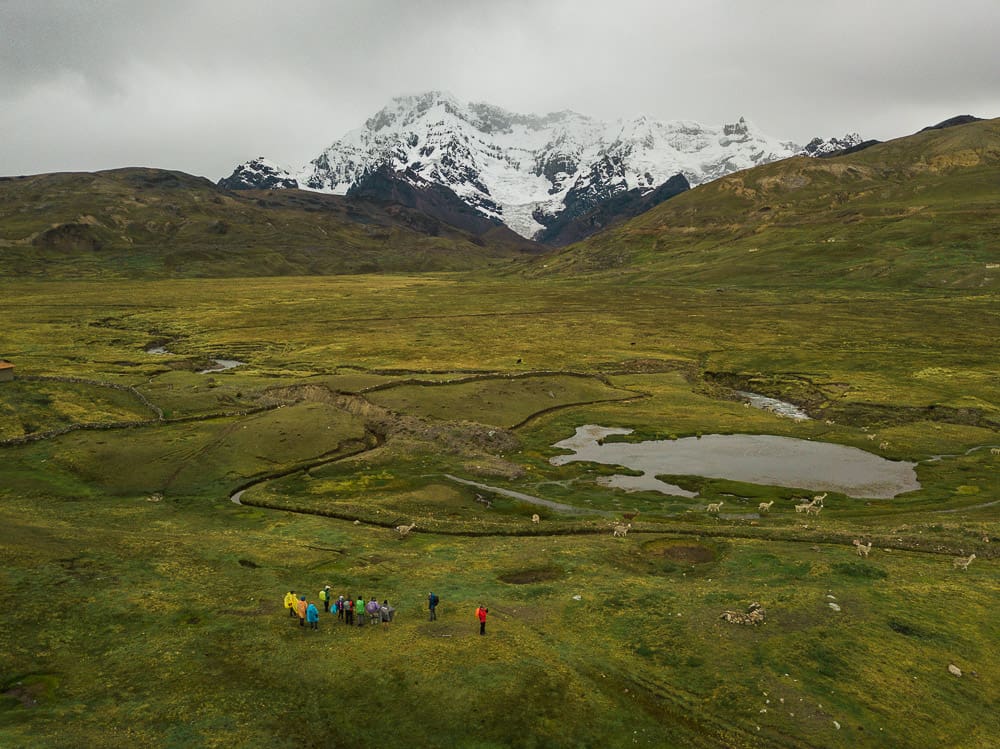
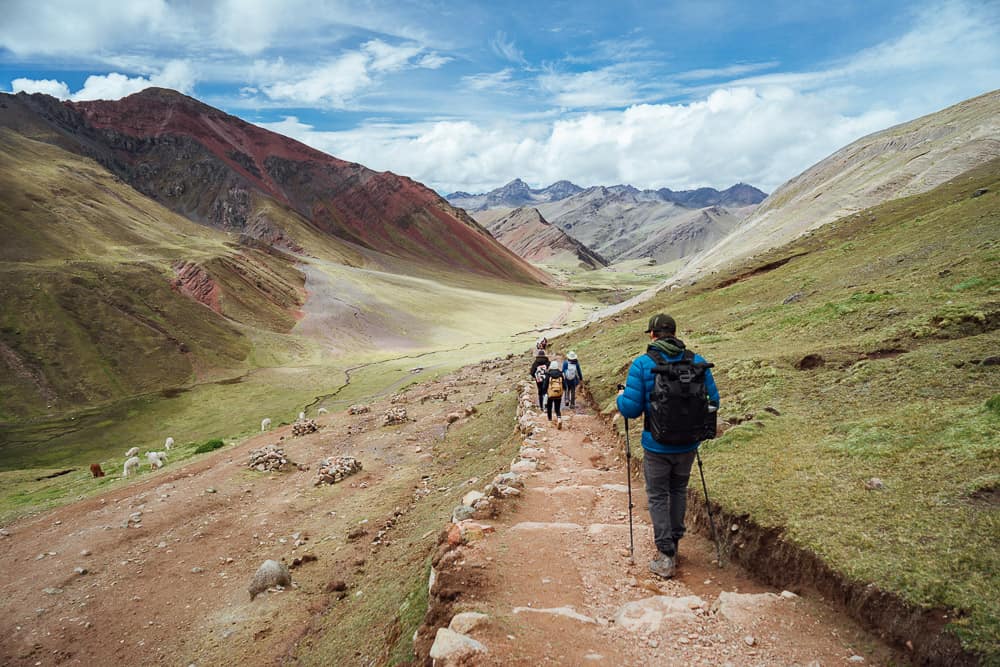
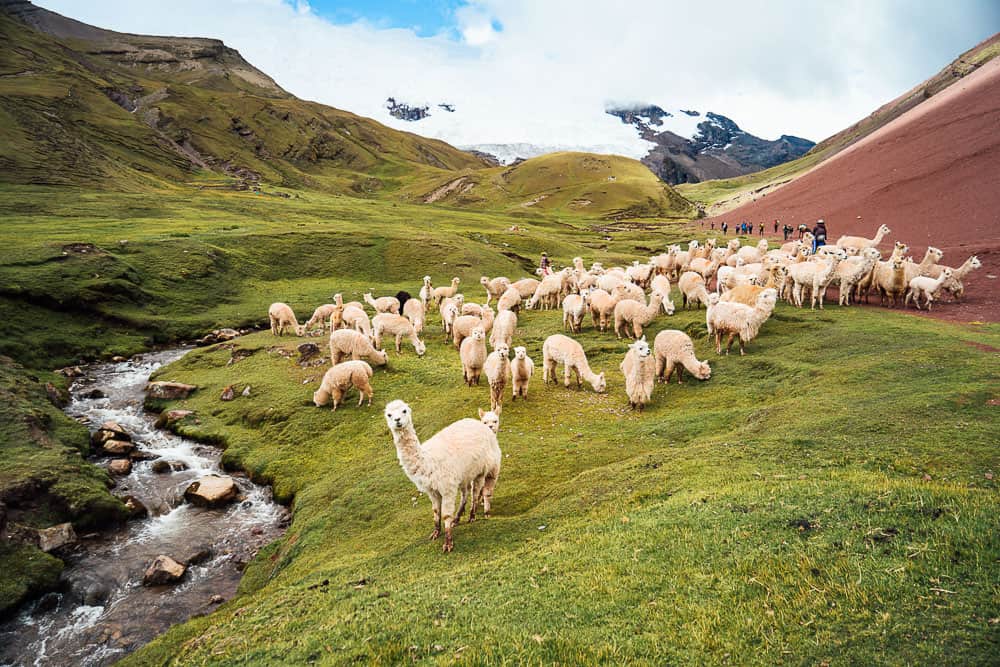
After lunch, we continued hiking for another two hours or so through vast fields of green, passing by scattered stone houses and herds of alpacas.
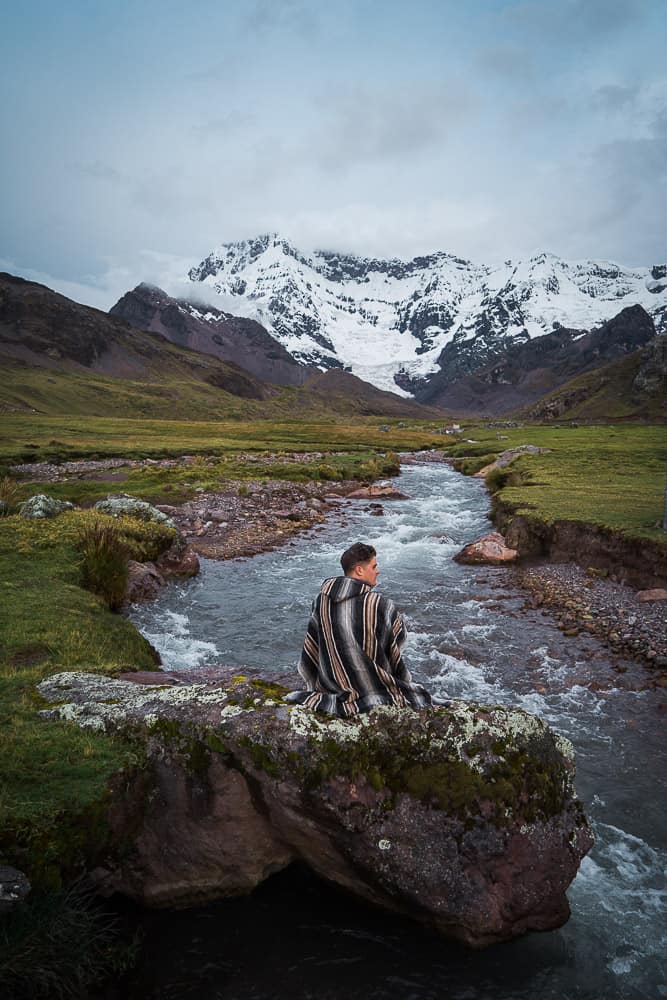
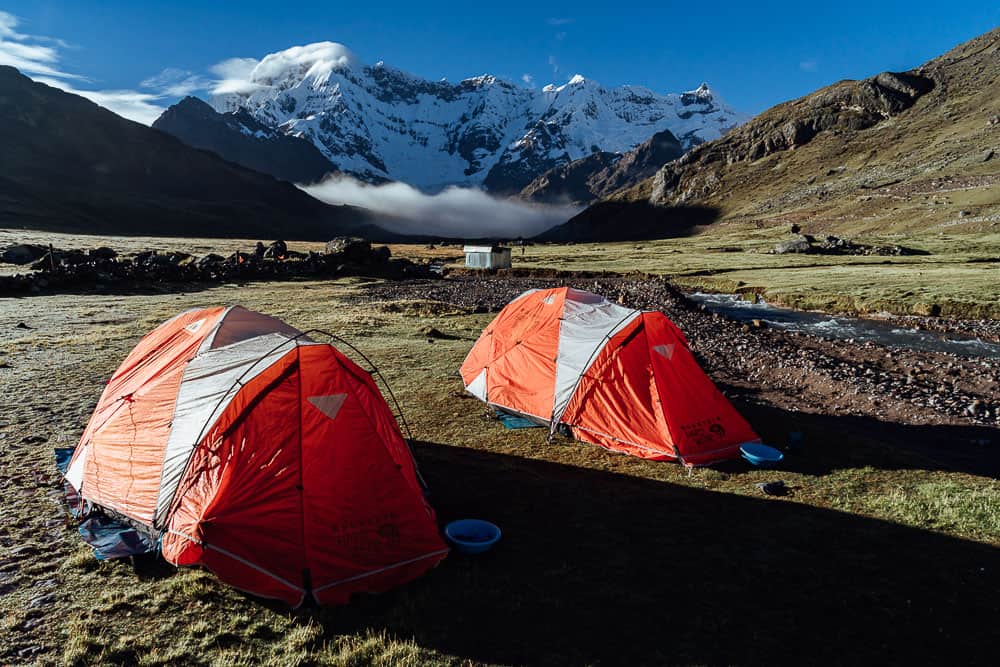
Our campsite was located in a place called Upis for the night and we arrived just in time to take some photos of a flowing river with the almighty Ausangate peak in the backdrop!
There are also hot springs here if you wish to take a hot dip.
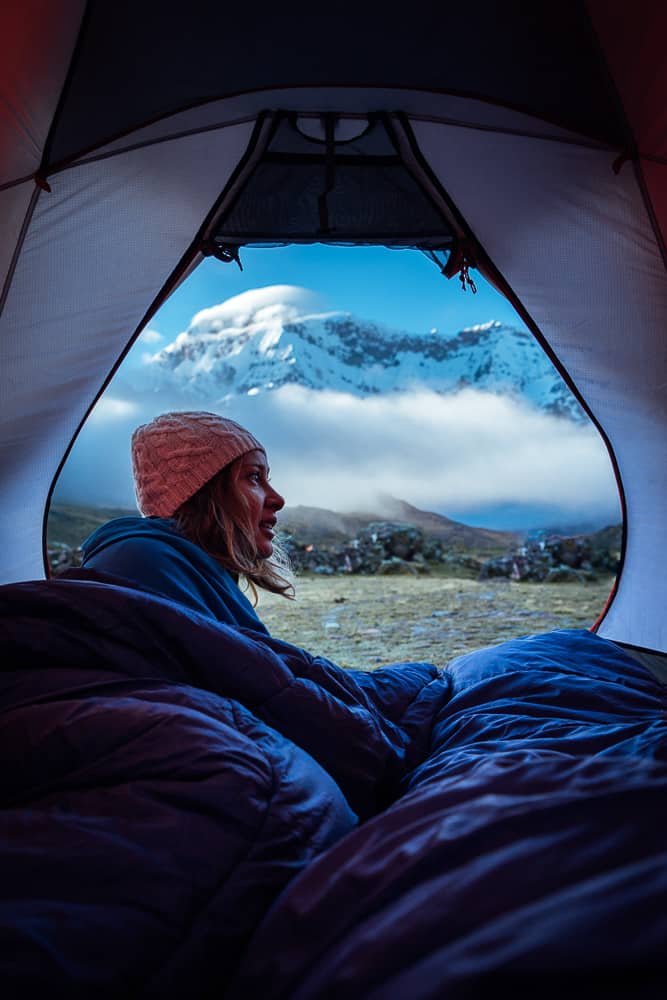
Dinner was served shortly after sunset, which was absolutely delicious, and then the porters offered us hot water bottles to take inside our tents for extra warmth during the night.
Safe to say that day 1 of 7 was off to a great start!
DAY 2
Day two of the trek began bright and early for breakfast at 6 am before continuing on the Ausangate circuit trail at around 7 am.
A three-hour hike up to Arapa Pass which sits at 4,800m and incredible views of Maria Huamantilla Mountain and Ausangate Mountain can be seen from here.
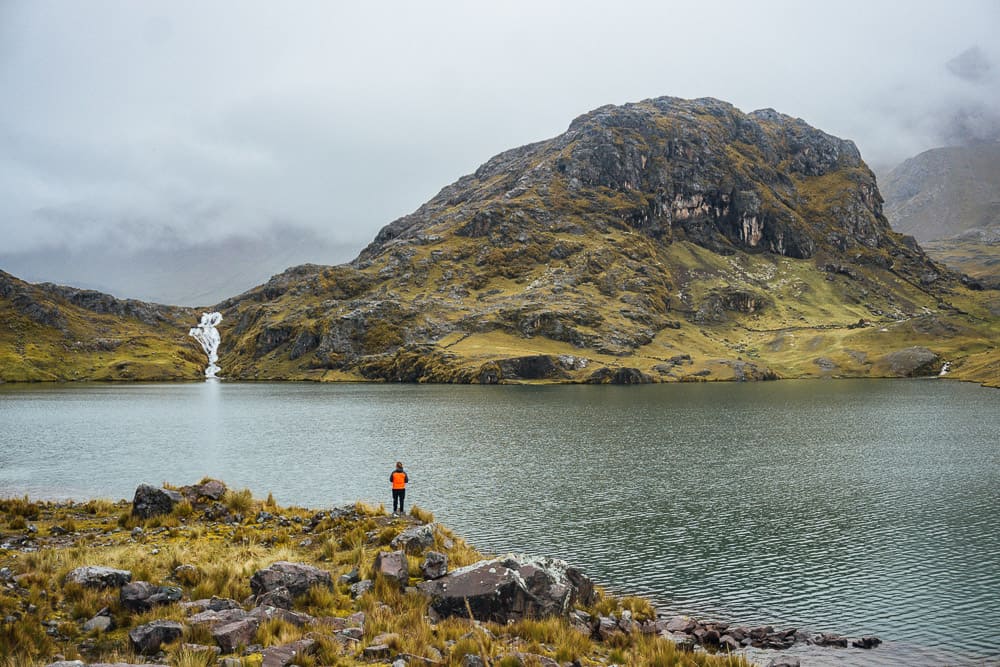
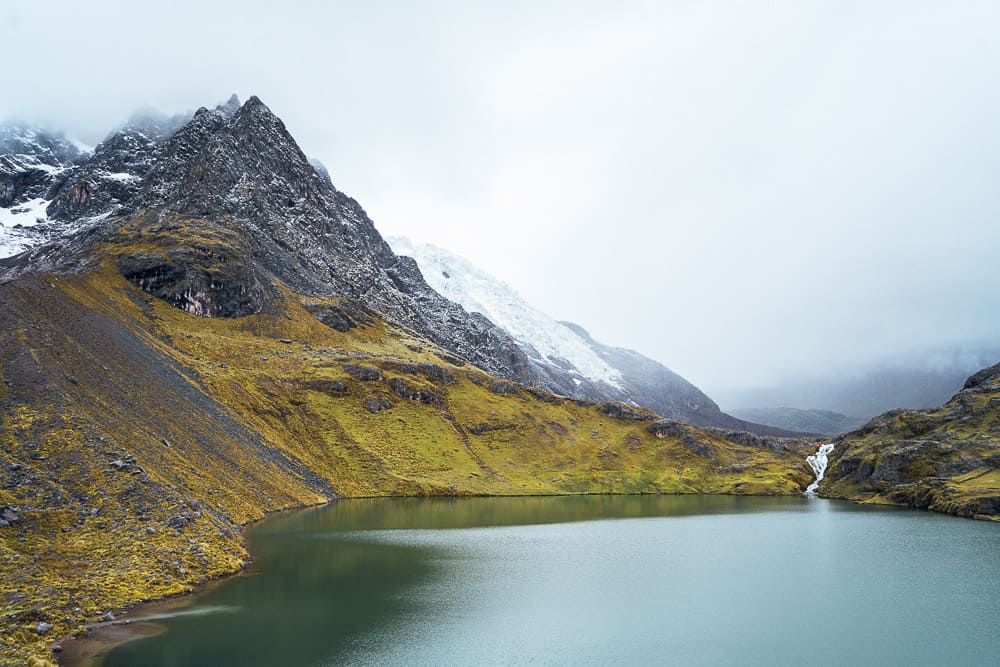
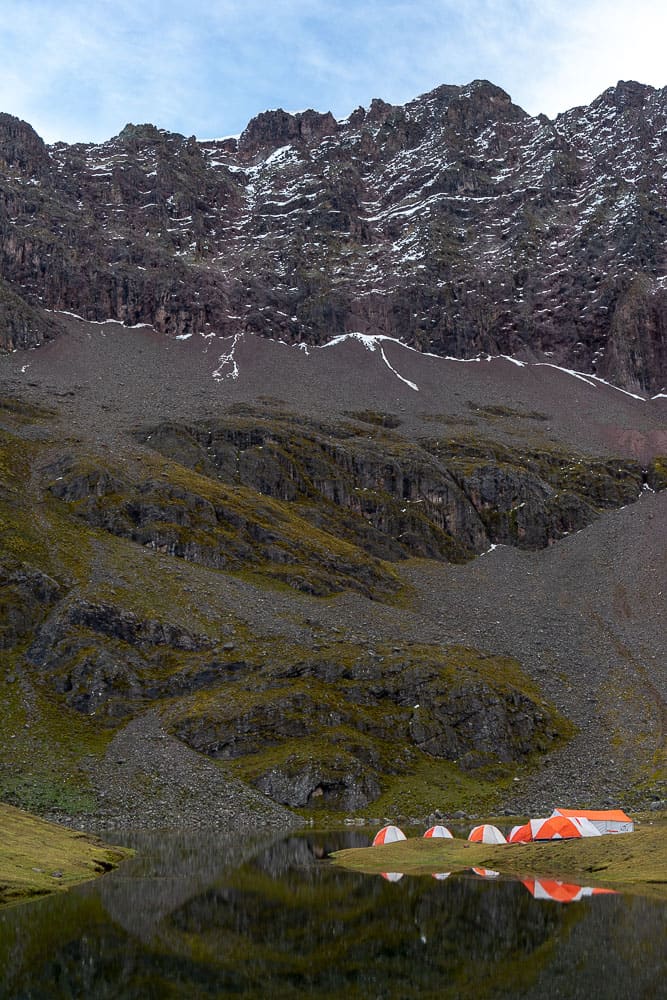
From the Arapa Pass, we then descended across some epic trails through the valley and down to our lunch spot which was set up beside one of the glacier lakes, boasting a small waterfall at one end.
I was already starting to feel the burn in my legs and headaches from the altitude sickness, but I had some electrolytes and Panadol to keep me going.
After lunch, we then hiked for a further two hours over the Pucaccocha Pass and down to Pucaccocha Lake which was formed by a melting glacier.
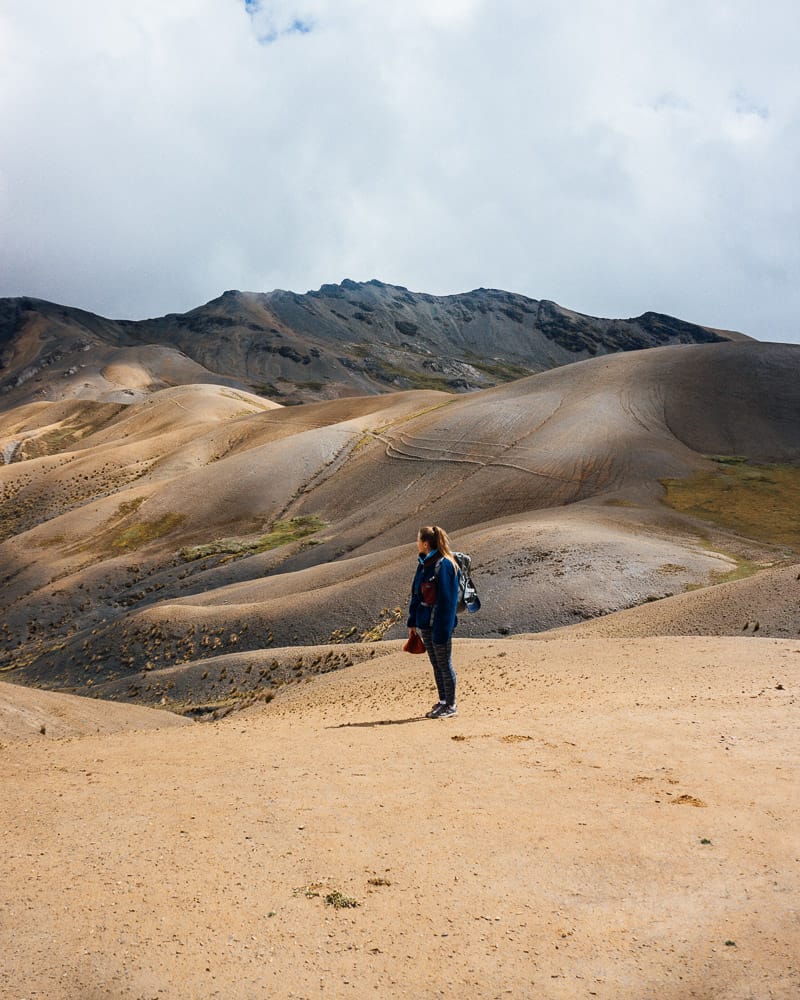
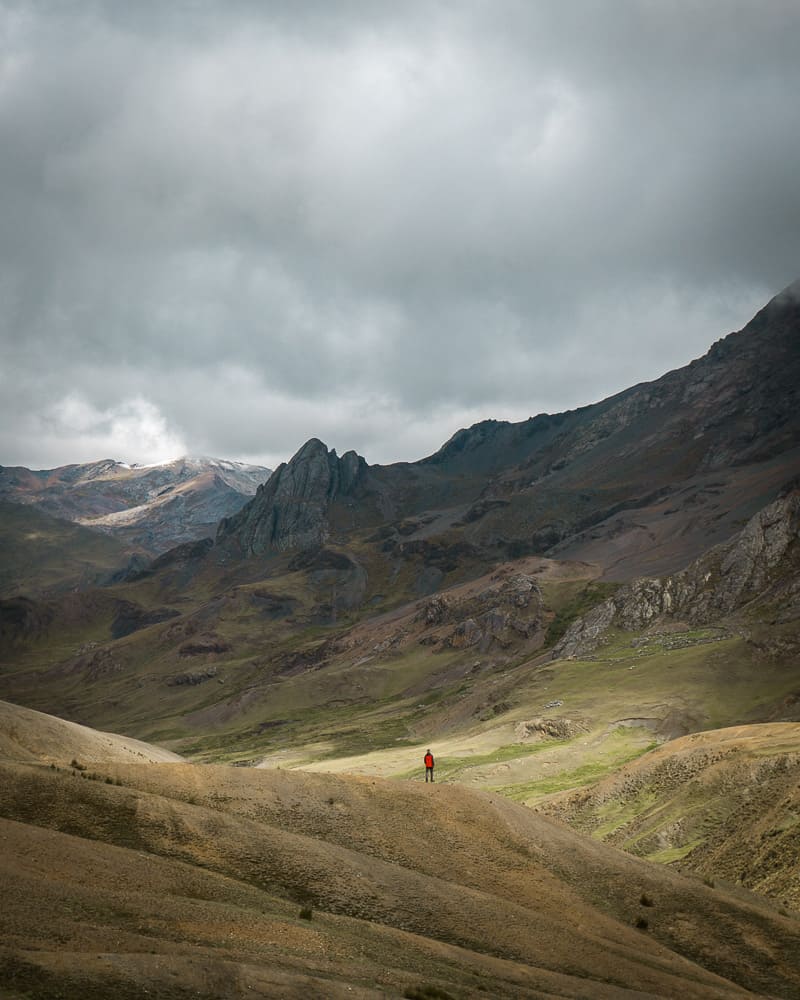
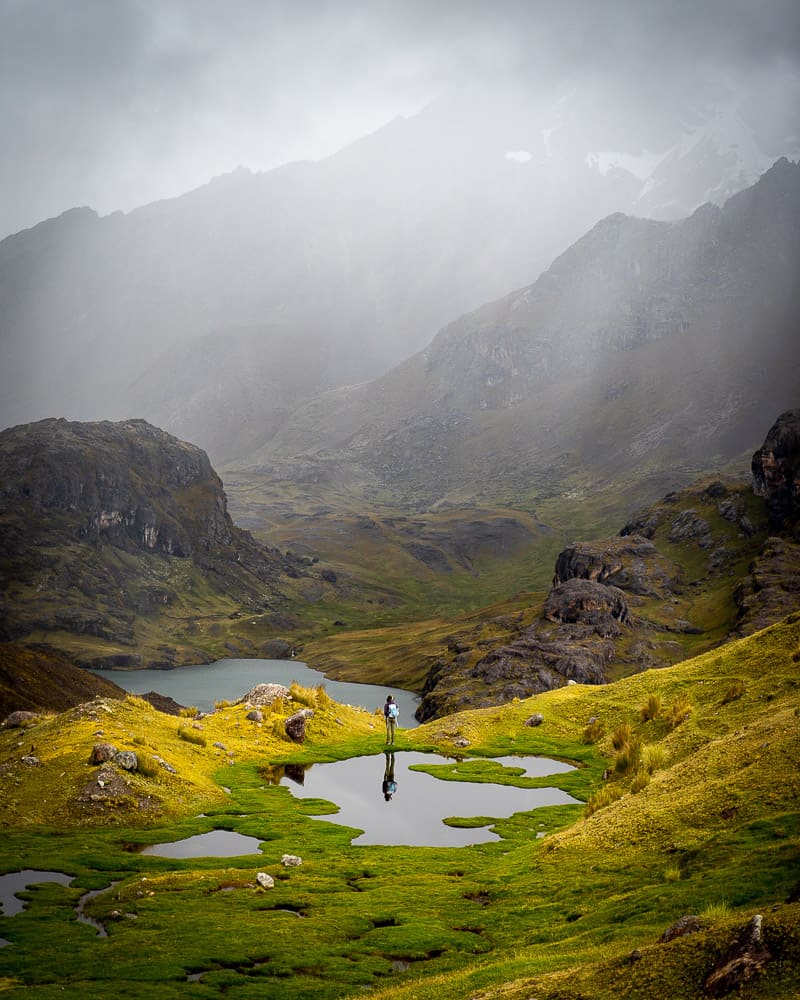
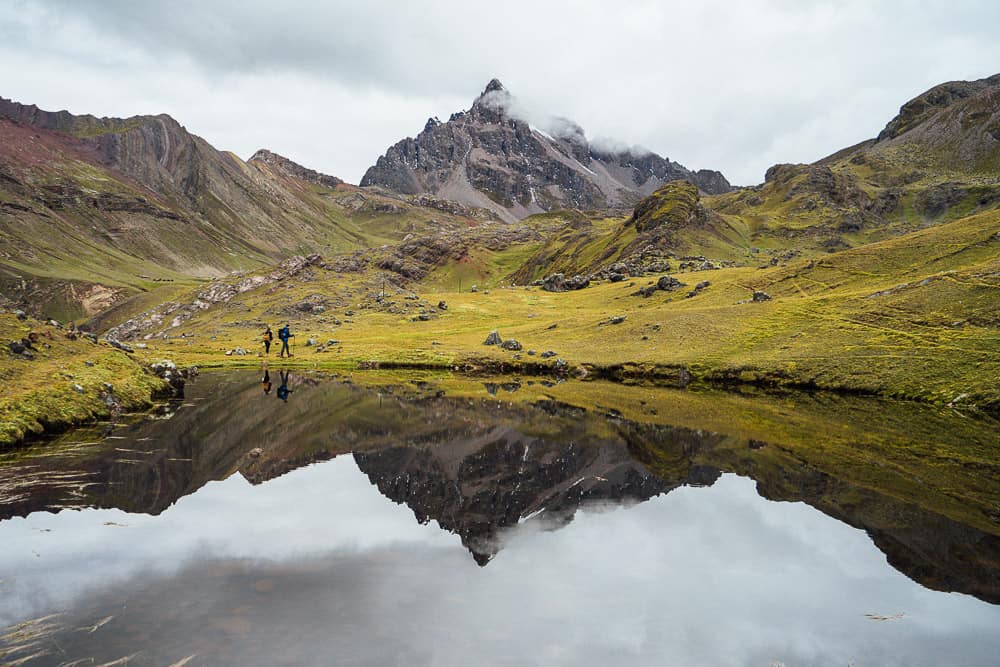
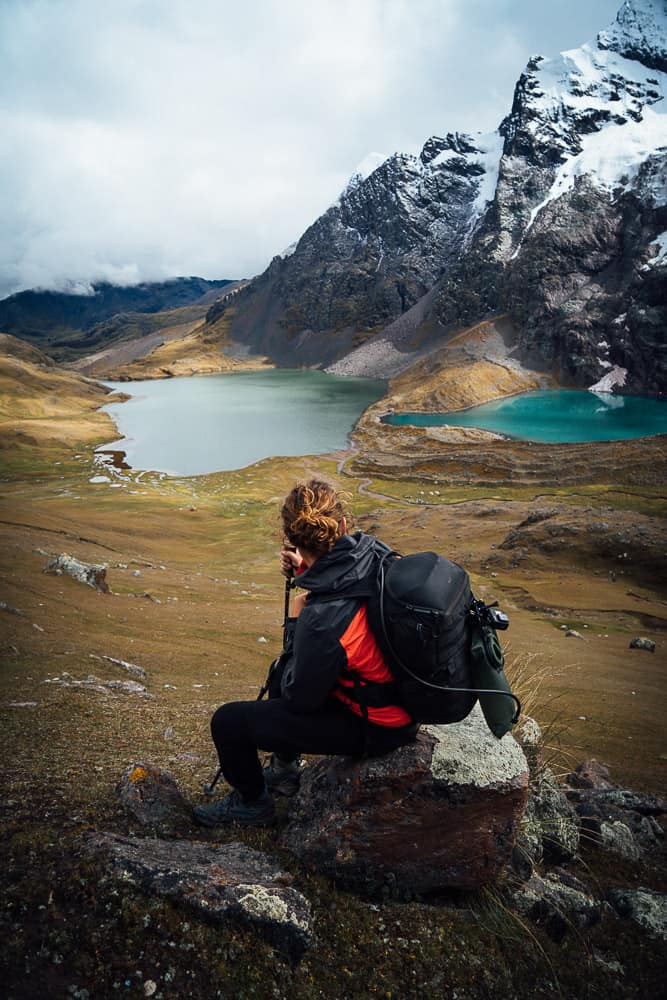
I was in complete awe of my surroundings on this particular afternoon, as around every corner we came across scenes that reminded me of ‘The Land Before Time’ and ‘Jurassic Park’.
See the pictures below and you’ll know what I’m talking about when I say it’s one of the best treks in Peru!
The camp was already set up by the time we had all arrived and again, another 3-course dinner was dished up that was very much appreciated.
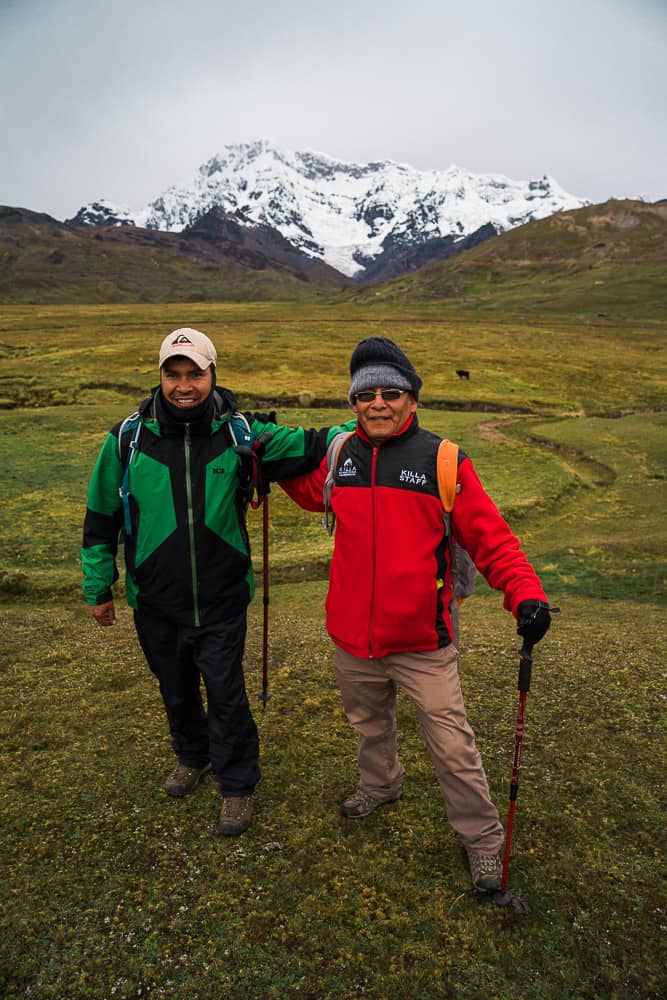
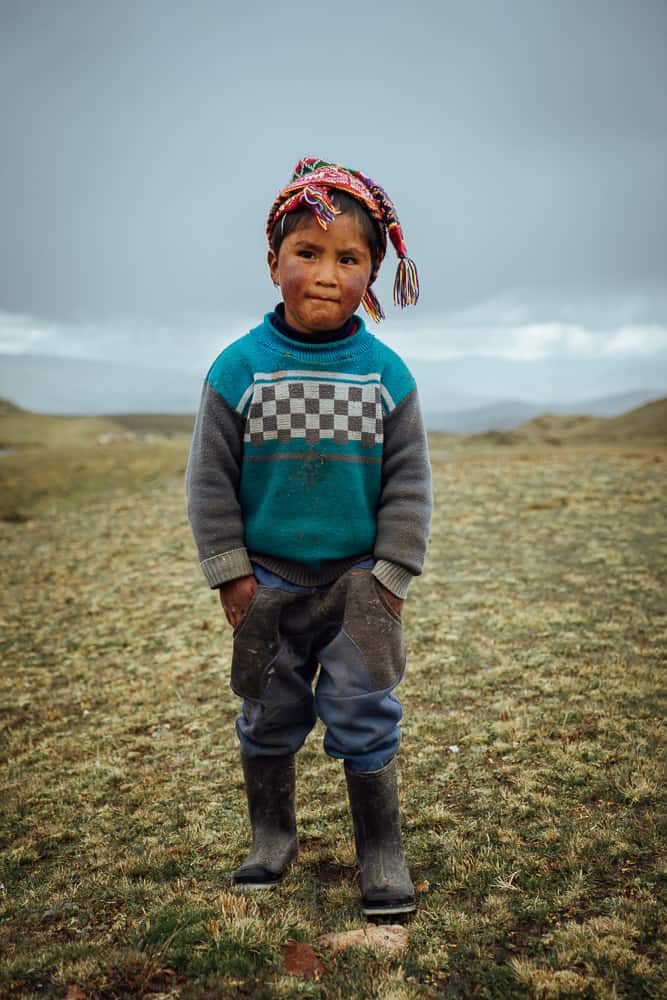
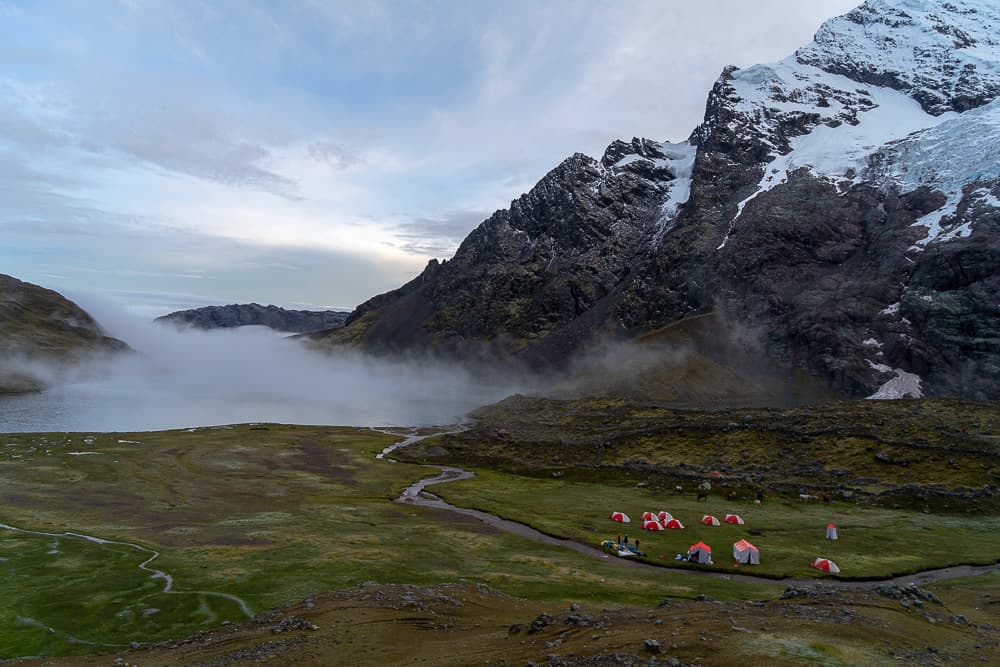
DAY 3
By day three of the Ausangate hike, I felt as though we were well and truly off the beaten path, deep inside the mountains of Peru, and the truth is, we actually were!
It was an incredible feeling of solitude and being detached from phones, laptops, and electricity for the week was great!
After a hearty breakfast, we were all pumped to see what day three had to throw at us! Well, it was off to a steep climb for around two hours to the Puca Pass which sits at 5,050m.
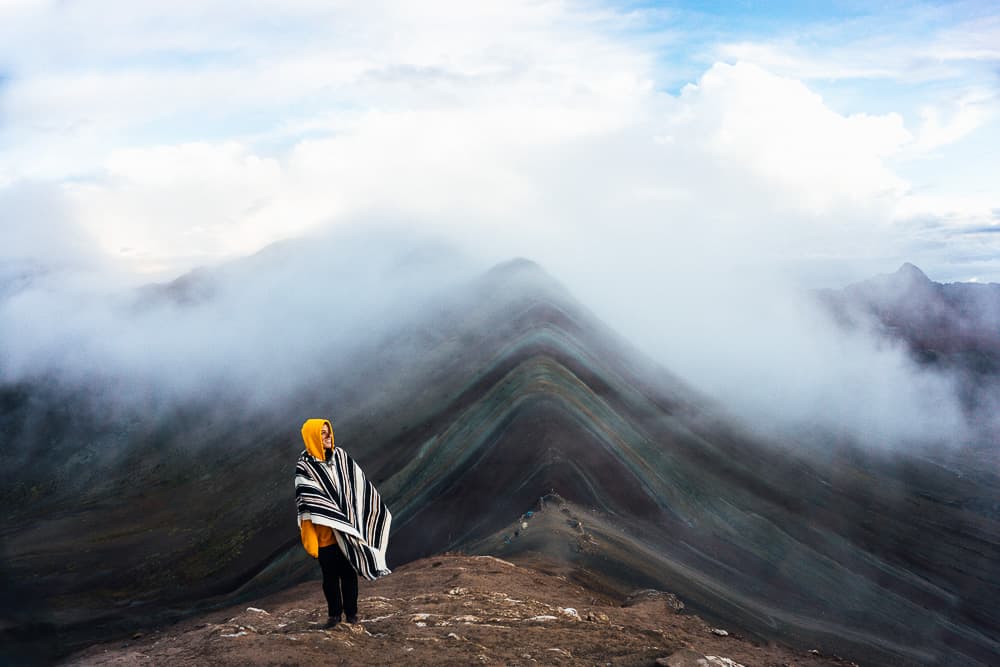
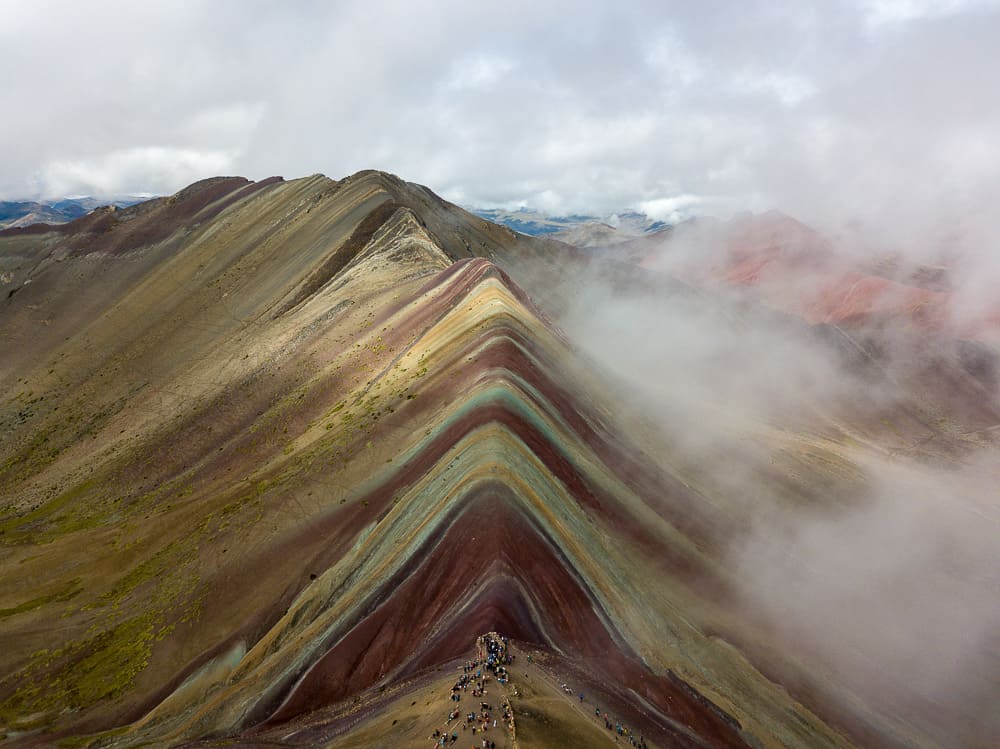
This was by far one of my favorite mornings – rolling hills, jagged peaks, turquoise lakes, and the Rainbow Mountain ranges were just some of the phenomenal sights that can be seen from the top of Puca Pass.
The lunch spot was a further two hours’ descent into Chilca Valley, passing more beautiful lakes and lush green landscapes.
After recharging our batteries here, it was time to hustle over the second mountain pass for the day and down to Yanacocha Lake where the campsite was set up.
With Rainbow Mountain a further one-hour hike away from the campsite, we were given the option to make it there for sunset and also for sunrise the following morning.
As Rainbow Mountain had been on my bucket list for years I couldn’t pass up the opportunity to visit it twice!
So we dumped our bags off in the tents and made the one-hour hike to Rainbow Mountain, making it just in time to catch the sunset!
Was it worth it?! Hell yeah! There was no one else in sight which is a rare opportunity at this location, as it is the second most visited site in Peru, after Macchu Picchu.
Feeling completely wrecked after a massive day of trekking on day three, arriving back at the tents in one piece was a godsend. I had a quick feed for dinner and then went straight to bed.
Full Blog Post: Rainbow Mountain Peru
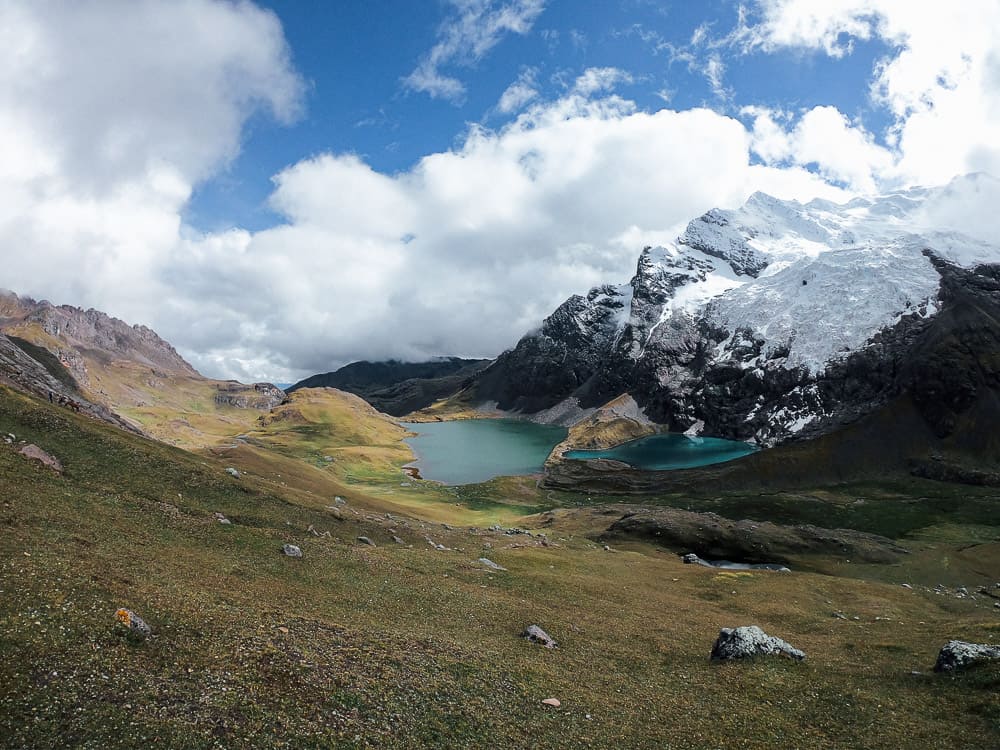
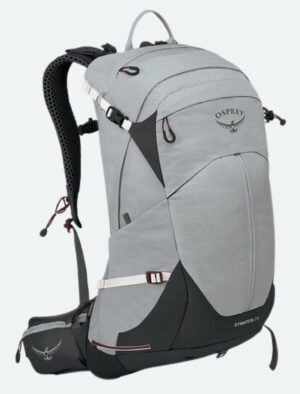
Pssst! Check out this EPIC Hiking Backpack!
Perfect for shorter day hikes, the Osprey Stratos 24L is a tough pack made from sustainable materials.
With great internal organization, this is all you need for your next adventure, no matter the weather!
DAY 4
A super early rise for everyone on day four to make the same one-hour hike back to Rainbow Mountain for sunrise.
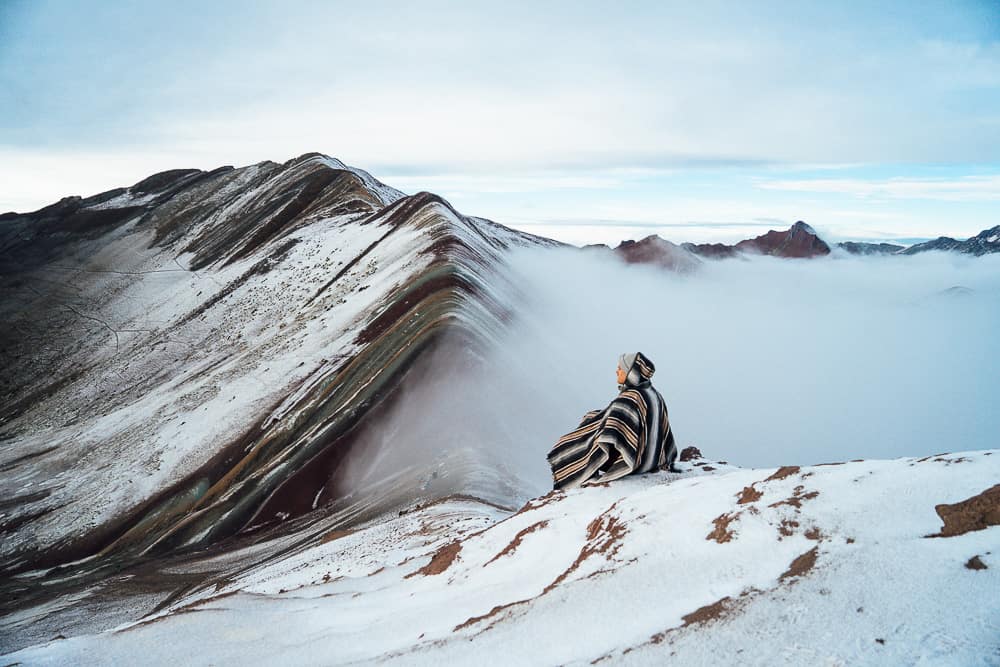
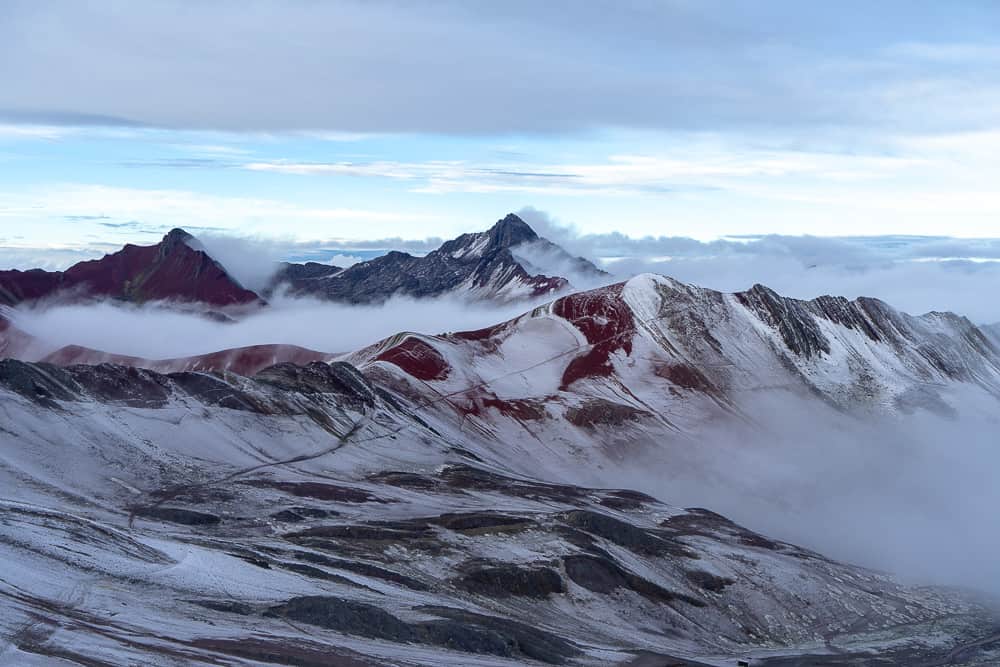
To our surprise, there was 2 to 3 cm of snowfall overnight, covering the trail and surrounding mountains in a light dusting of snow.
This meant that Rainbow Mountain was going to have an extra color too! And sure enough, when we arrived at the viewpoint it was one of the most beautiful sights I have ever seen!
A light dusting of snow had fallen over Rainbow Mountain, though some colors were still poking through.
Myself and the rest of the squad were absolutely mind-blown at this incredible sight! Although there wasn’t really a banger sunrise, the snow-capped Rainbow Mountain made up for it.
Again, we had the entire mountain to ourselves for a couple of hours before the herds of tourists started to arrive and this is when we made our departure to the next spot.
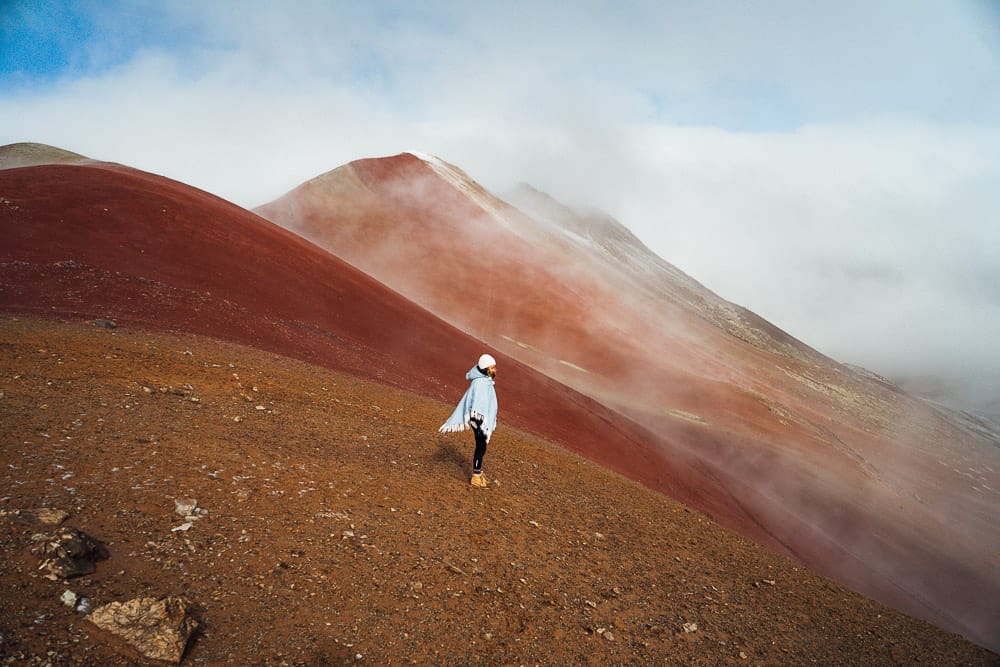
Our guides took us on a short detour into the Red Valley for a quick photo and then we continued our hike to Quesouno for lunch.
With full bellies, the adventure pushed on for a couple more hours upstream to the beautiful Ausangatecocha Lake and this is where we set up camp for the night.
Must Read: 3 Week Peru Itinerary
DAY 5
I must admit, getting up on day five was a bit of a struggle. All of my muscles were sore, headaches were forever existent and a lack of motivation was present.
However, with the support of the other trekkers, all of whom were good mates by this stage, they encouraged me to keep on keeping on.
After breakfast, we began a steep climb for two hours to the Palomani Pass, the highest peak of the trek at 5, 400m above sea level!
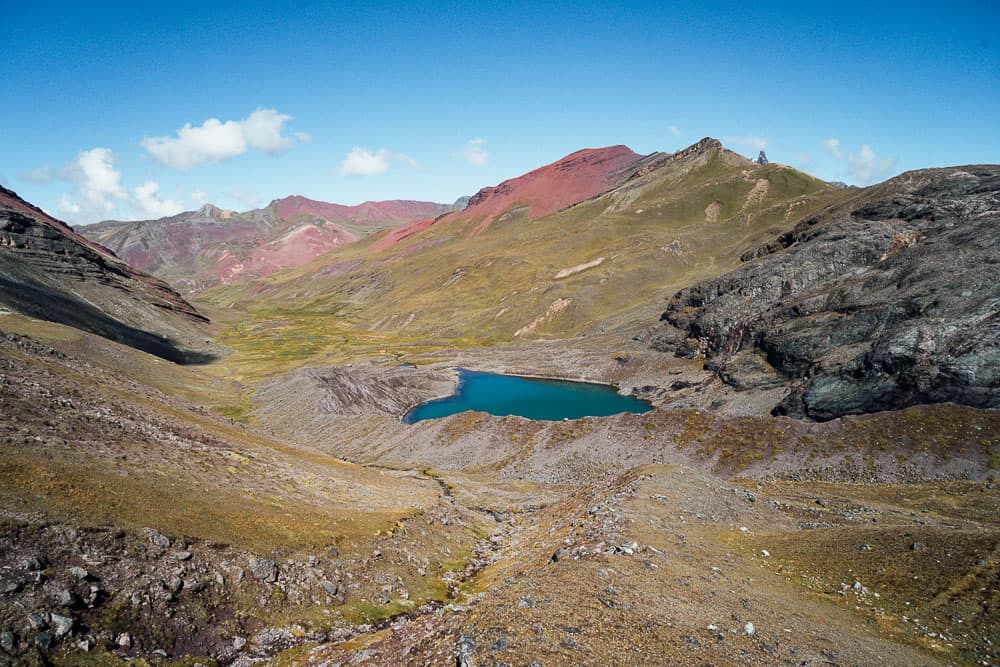
A panoramic viewpoint awaits at the top with extensive views of countless mountain peaks in the Cordillera Vilcanota region and a birds-eye perspective of Ausangatecocha Lake.
The trek continues down into Huchuy Finaya Valley where we stopped for lunch before making our way to Comercocha to camp for the night.
The snaking river on the way to Comercocha is absolutely amazing and this Ausangate trail boasts incredible views of the distant Las Dos Gemelas, also known as the Two Twin Mountains.
Read More: Macchu Picchu Guide
DAY 6
Day six is essentially the last big day of Ausangate trekking through the Pampacancha Valley along a rocky trail with some of the best mountain views on the trek so far!
There is also an abundance of wildlife through this valley, so keep your eyes peeled.
The last leg of the trek goes up and over the Qampa Pass offering insane views of the Three Peaks and Pacchanta Valley.
From here the final descent begins between Ausangate Mountain and Two Twin Mountains, passing by glacial moraines, vibrant lakes, and snow-capped peaks and eventually emerging at the campsite a few hours later.
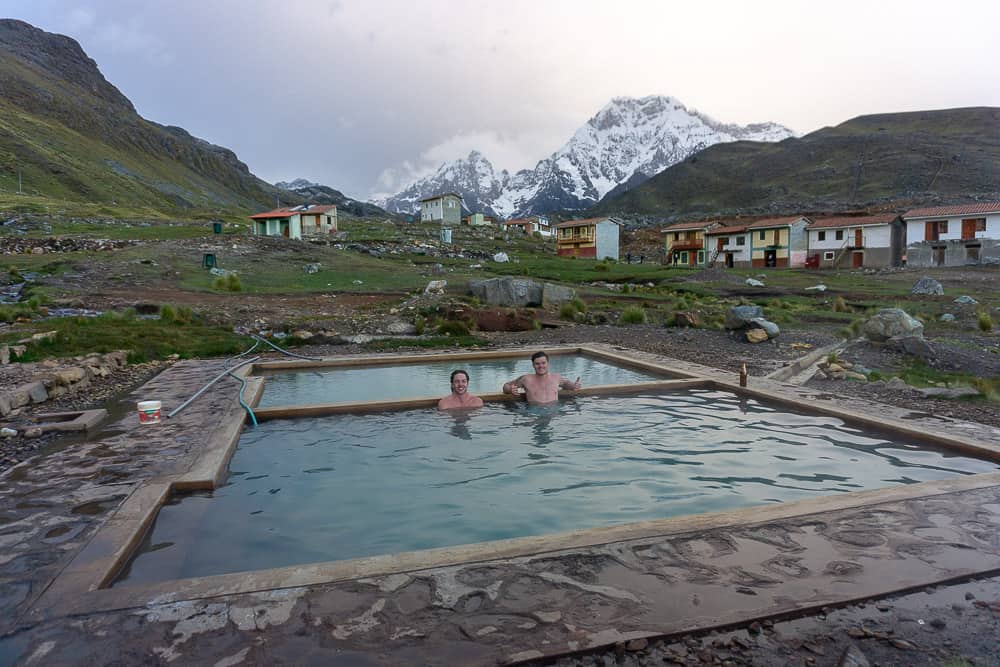
The best part about this final campsite in Pacchanta is the thermal hot springs and also a convenient store to buy snacks and cold drinks etc. A well-deserved soak in the hot springs will set you back 10 Soles.
Our guides gave us the option to either be picked up by the minivan the following day from Pacchanta or trek a further three hours in the morning back to Tinki Village and be picked up from there.
It was an easy decision for the entire squad as we were all very exhausted from the trek, so we opted to finish here at Pacchanta and take the easier option of the mid-morning van pick-up.
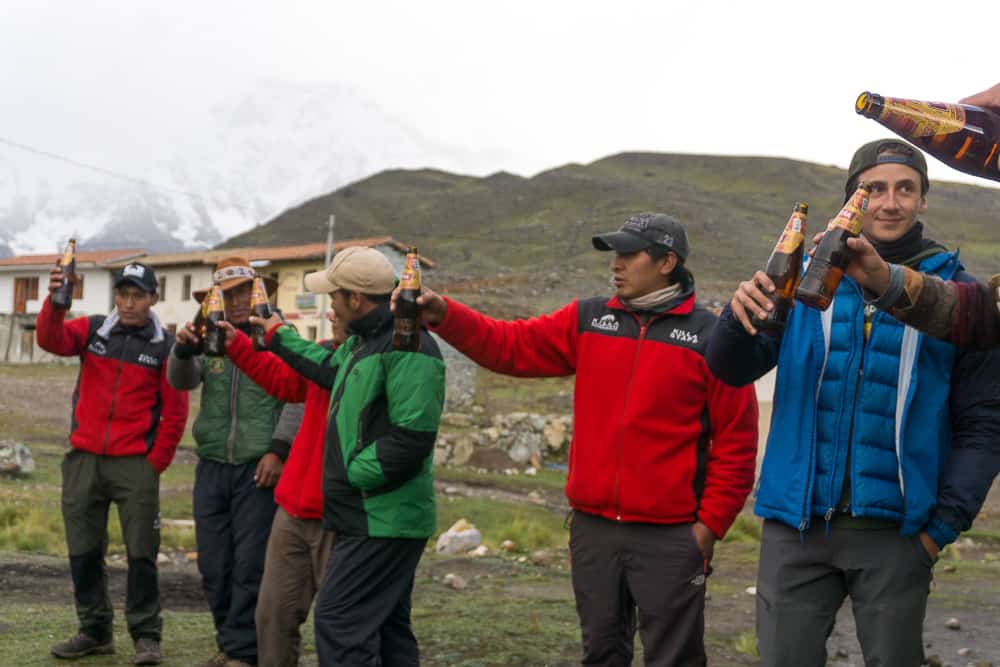
Furthermore, we bought a bunch of beers, had a dip in the hot springs, and celebrated our completion of the 7-day trek.
DAY 7
Feeling slightly tired and hungover, we managed to heave ourselves out of our tents for one last breakfast.
The van arrived at around 9 am and we thanked our guides, porters, and chefs for their amazing services before taking off on the long drive back to Cusco, stopping in at a small lakeside town for lunch.
Overall, I rate the Ausangate trek Peru with Killa Expeditions a 10 out of 10 and highly recommend it to anyone who is searching for the best trek in Peru!
AUSANGATE TREK COST
The Ausangate trek cost depends on whether you go with a tour guide or on your own.
I personally recommend going with a guide, but I’ll go through each option in more detail below.
AUSANGATE TOUR COST
The recommended way to do the Ausangate hike is with a tour, and the price is the following:
- $534 for Ausangate Trek 3 days
- $579 for Ausangate Trek 4 Days
- $690 for Ausangate Trek 5 Days
- $1,050 for 6 days
- $1,641 for 9 days
While these prices may seem steep, the tours include everything, from meals to transportation to camping gear and everything in between, so you pay for the convenience.
I recommend booking online before coming as it’s relatively cheaper.
COST OF AUSANGATE TREK WITHOUT GUIDE
On the other hand, if you plan to do the Ausangate Trek without guide, it’ll be a cheap expedition – That is, if you already have all the gear.
Here are the fees involved:
- Transportation from Cusco: USD $6 return
- Food shopping: USD $30-40
- Gear rental: USD $50 to $100 per person.
- Red Valley entrance fee: USD $6 per person (10 soles at the entrance, 10 soles at the exit)
In total, you’ll spend about $100 to $150 in total, which is much cheaper than a tour, but it’s not as convenient and you’ll have to spend your time alone the whole trek.
WHERE TO STAY IN CUSCO
Cusco is the best place to stay before and after Ausangate trekking.
There are hundreds of accommodation options to choose from, so I have narrowed it down to a few of the best places to stay in Cusco to fit the needs of budget backpackers, luxury travelers, and everyone in between.
Luxury: JW Marriott El Convento Cusco
An unforgettable stay at any Marriott Hotel around the world is never a bad choice.
This particular Marriott boasts beautiful interiors with antique exposed bricks and it’s just a few minutes walk to the main square, Plaza de Armas.
The rooms are elegantly styled featuring cable TV, wifi, a minibar, and a private bathroom. Oxygen-enriched rooms are also available for those who struggle with high altitudes.
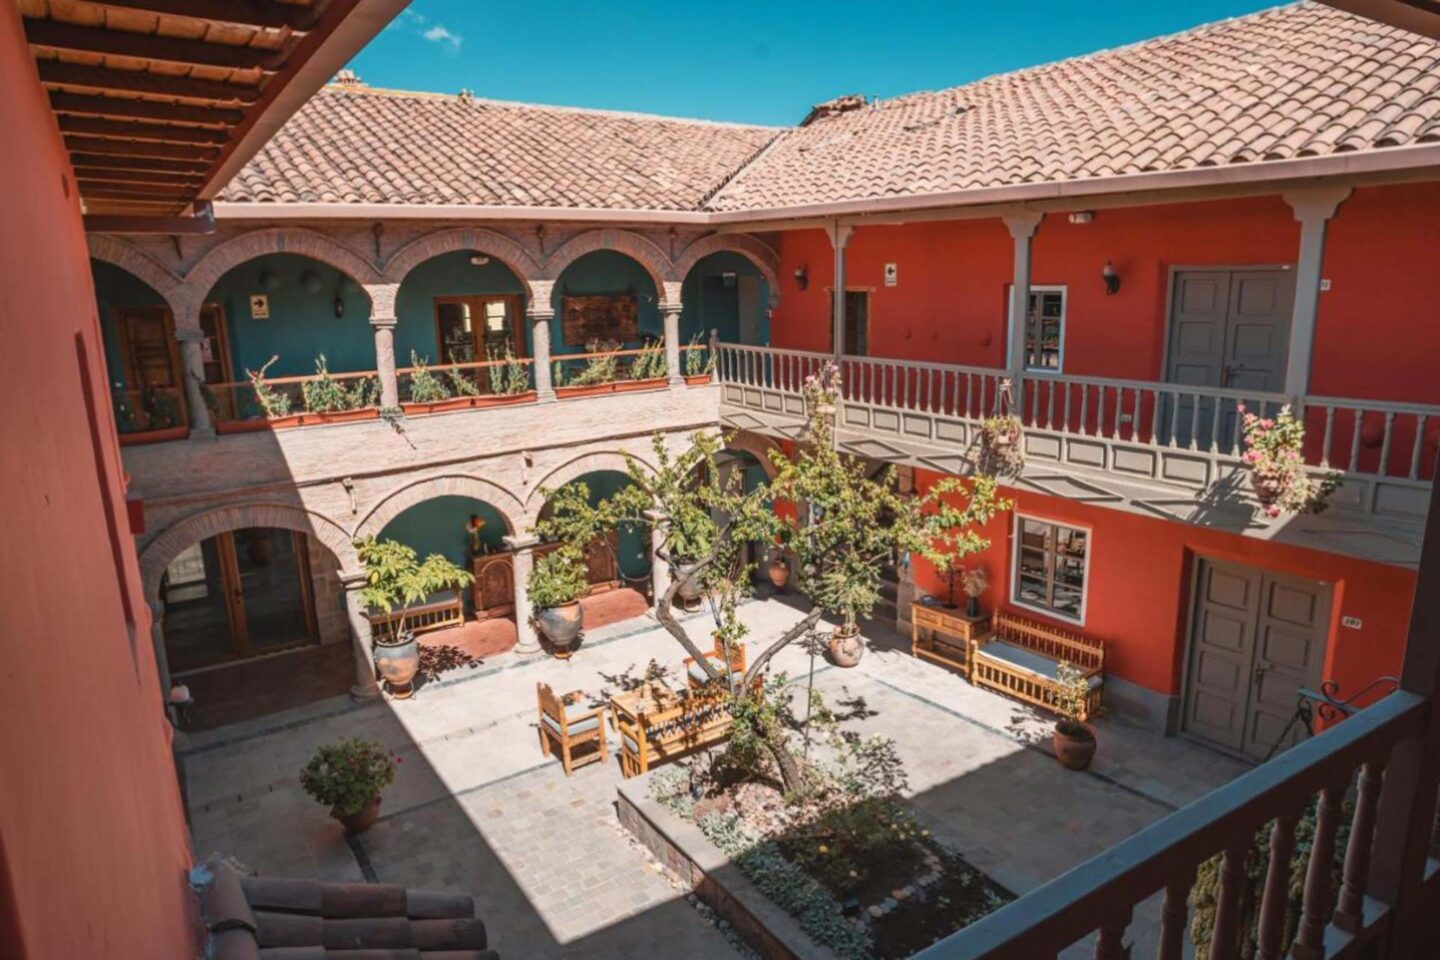
Mid Range: Tambo del Arriero Hotel Boutique
A charming colonial boutique hotel located in the Nueva Alta neighborhood, a short walking distance to the San Pedro Market and Cusco’s main square.
The rooms are spacious and cozy featuring a TV, iPhone docking station, free Wi-Fi, work desk, warm heating, and some even boast a private jacuzzi.
Budget: Selina Saphi Cusco
There are countless hostels in Cusco but there is only one Selina. It features a garden, a restaurant, a bar, and a central location just a few minutes walk to the main square!
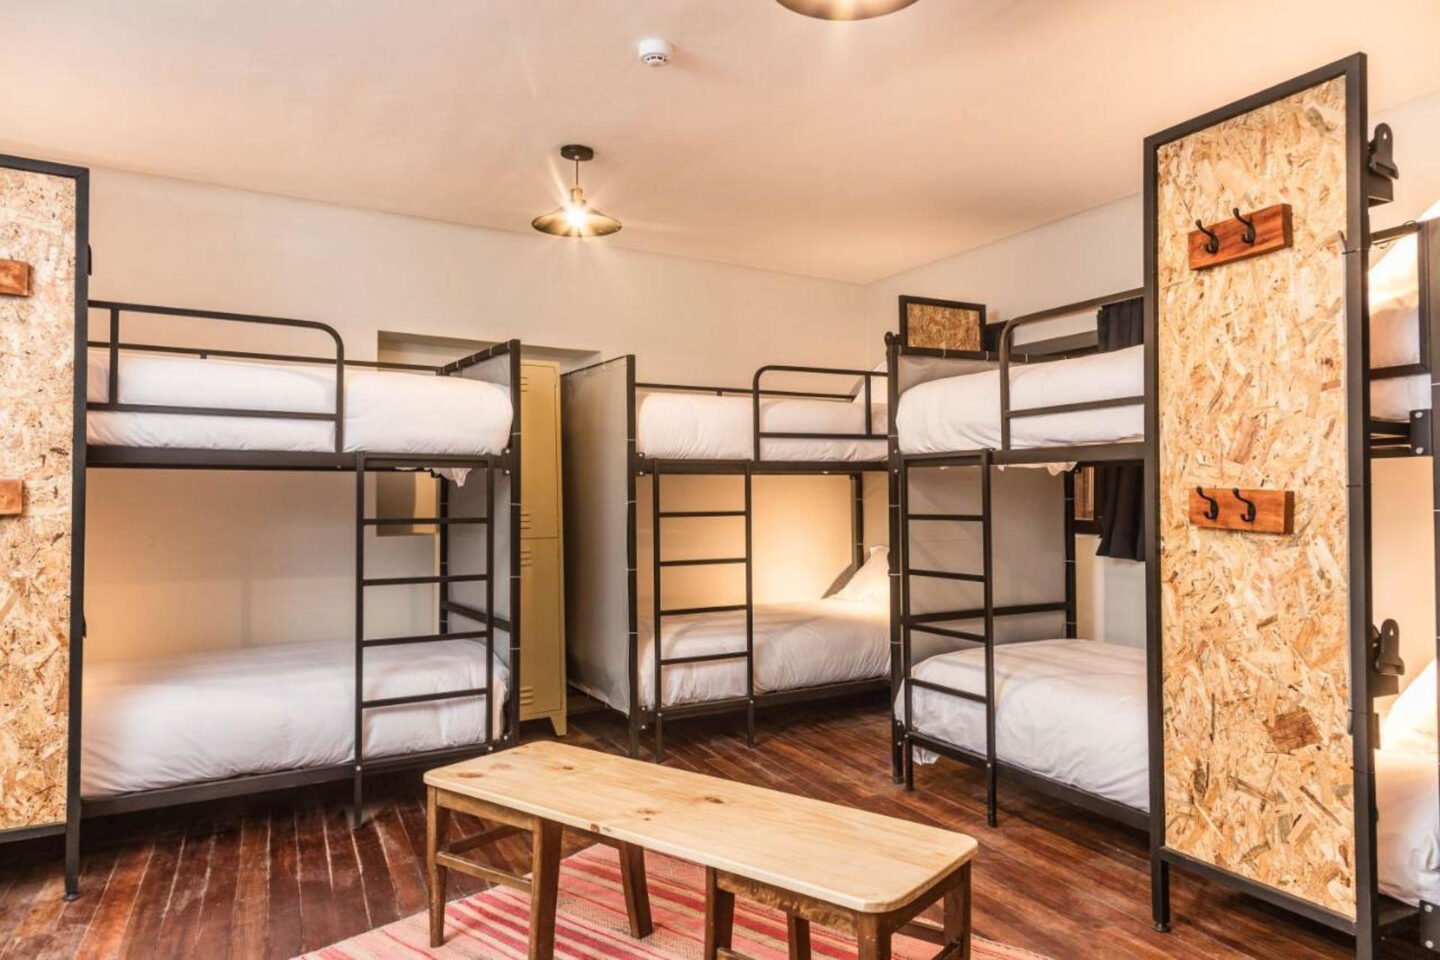
There are cozy dorm rooms and private rooms available at a very affordable price and breakfast is included.
In addition, guests have access to a shared kitchen and can enjoy free Wi-Fi throughout the hostel.
FOR ALL OTHER PLACES TO STAY IN CUSCO, SEARCH ON BOOKING.COM
WHAT TO PACK FOR AUSANGATE PERU
When visiting Ausangate Peru, here are a few items I recommend taking with you:
Must-Have Travel Essentials
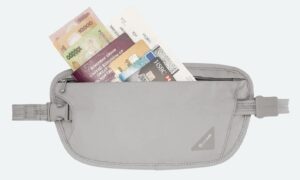
Keep your cash and other valuables safe with this anti-theft hidden money wallet!
The GRAYL GeoPress is the best reusable bottle that allows you to purify water from anywhere!
FINAL THOUGHTS – TREKKING AUSANGATE
If you have any questions at all about trekking Ausangate, please leave me a comment below this post and I will get back to you as soon as I can.
For a quicker response, be sure to join Jonny Melon’s Travel Tribe on Facebook and post your questions or recommendations to our awesome community.

TRAVEL RESOURCES FOR YOUR NEXT TRIP
Whether you’re a seasoned traveler or it’s your first trip overseas, here are some useful travel resources to help you kick-start your next adventure!
THANKS FOR READING
Hey friend, thanks for reading this guide!
Please know this post may contain affiliate links. When making a purchase through one of my links, I earn a small kickback at no extra cost to you and it’s a big help to keep the site up and running. Rest assured, I only promote products and services that I personally use and recommend.
Click here to find out how you can support the site organically.
Many thanks!
PIN IT FOR LATER








Hello,
Thank you for this article! I’m wondering, what month did you do the trek in? Thanks!
Hey Isaac, I did this trek at the end of April. Enjoy 🙂